The Forty-Dollar Test Batch
Last week, I encouraged first-time homebrewers to skip extract brewing and move directly to all-grain, replicating the process commercial brewers use. Modern homebrewing has been designed around five-gallon batches of beer, so set-up can be spendy--which is a big gamble on a hobby you may not even enjoy. A much better alternative is a one-gallon test batch, which will allow you to walk through the entire process for around forty bucks. That's not nothing, but if you chalk it up to an experiment, consider the value largely one of knowledge. This will take an afternoon, but it will function like a crash course in brewing.
The process of homebrewing is functionally similar in all ways to professional brewing except scale. You’re going to mash malt, boil the wort with hops, chill the wort, and ferment your beer. The difference between home and commercial brewing comes down mainly to equipment. The pros have really cool vessels that can control temperature precisely; they have pumps, chillers, and filters. Many have labs. Those are refinements on a very basic procedure as ancient as civilization—one you can replicate even without the bells and whistles.
The following few paragraphs will take you through the process of making beer, from mashing through bottling. Making even one one-gallon batch of beer is like taking a class on beer-making. Just one session of brewing will illuminate more about the process—the chemistry, the variables, and the ingredients—than the most elegant description. And as a bonus, when you’re done, you’ll have eight 500 ml swing-top bottles (or ten regular bottles) full of a classic American pale ale. Not bad for such a modest investment of time and money. If you want to do a second batch, it will only cost you around ten bucks.
Before You Start
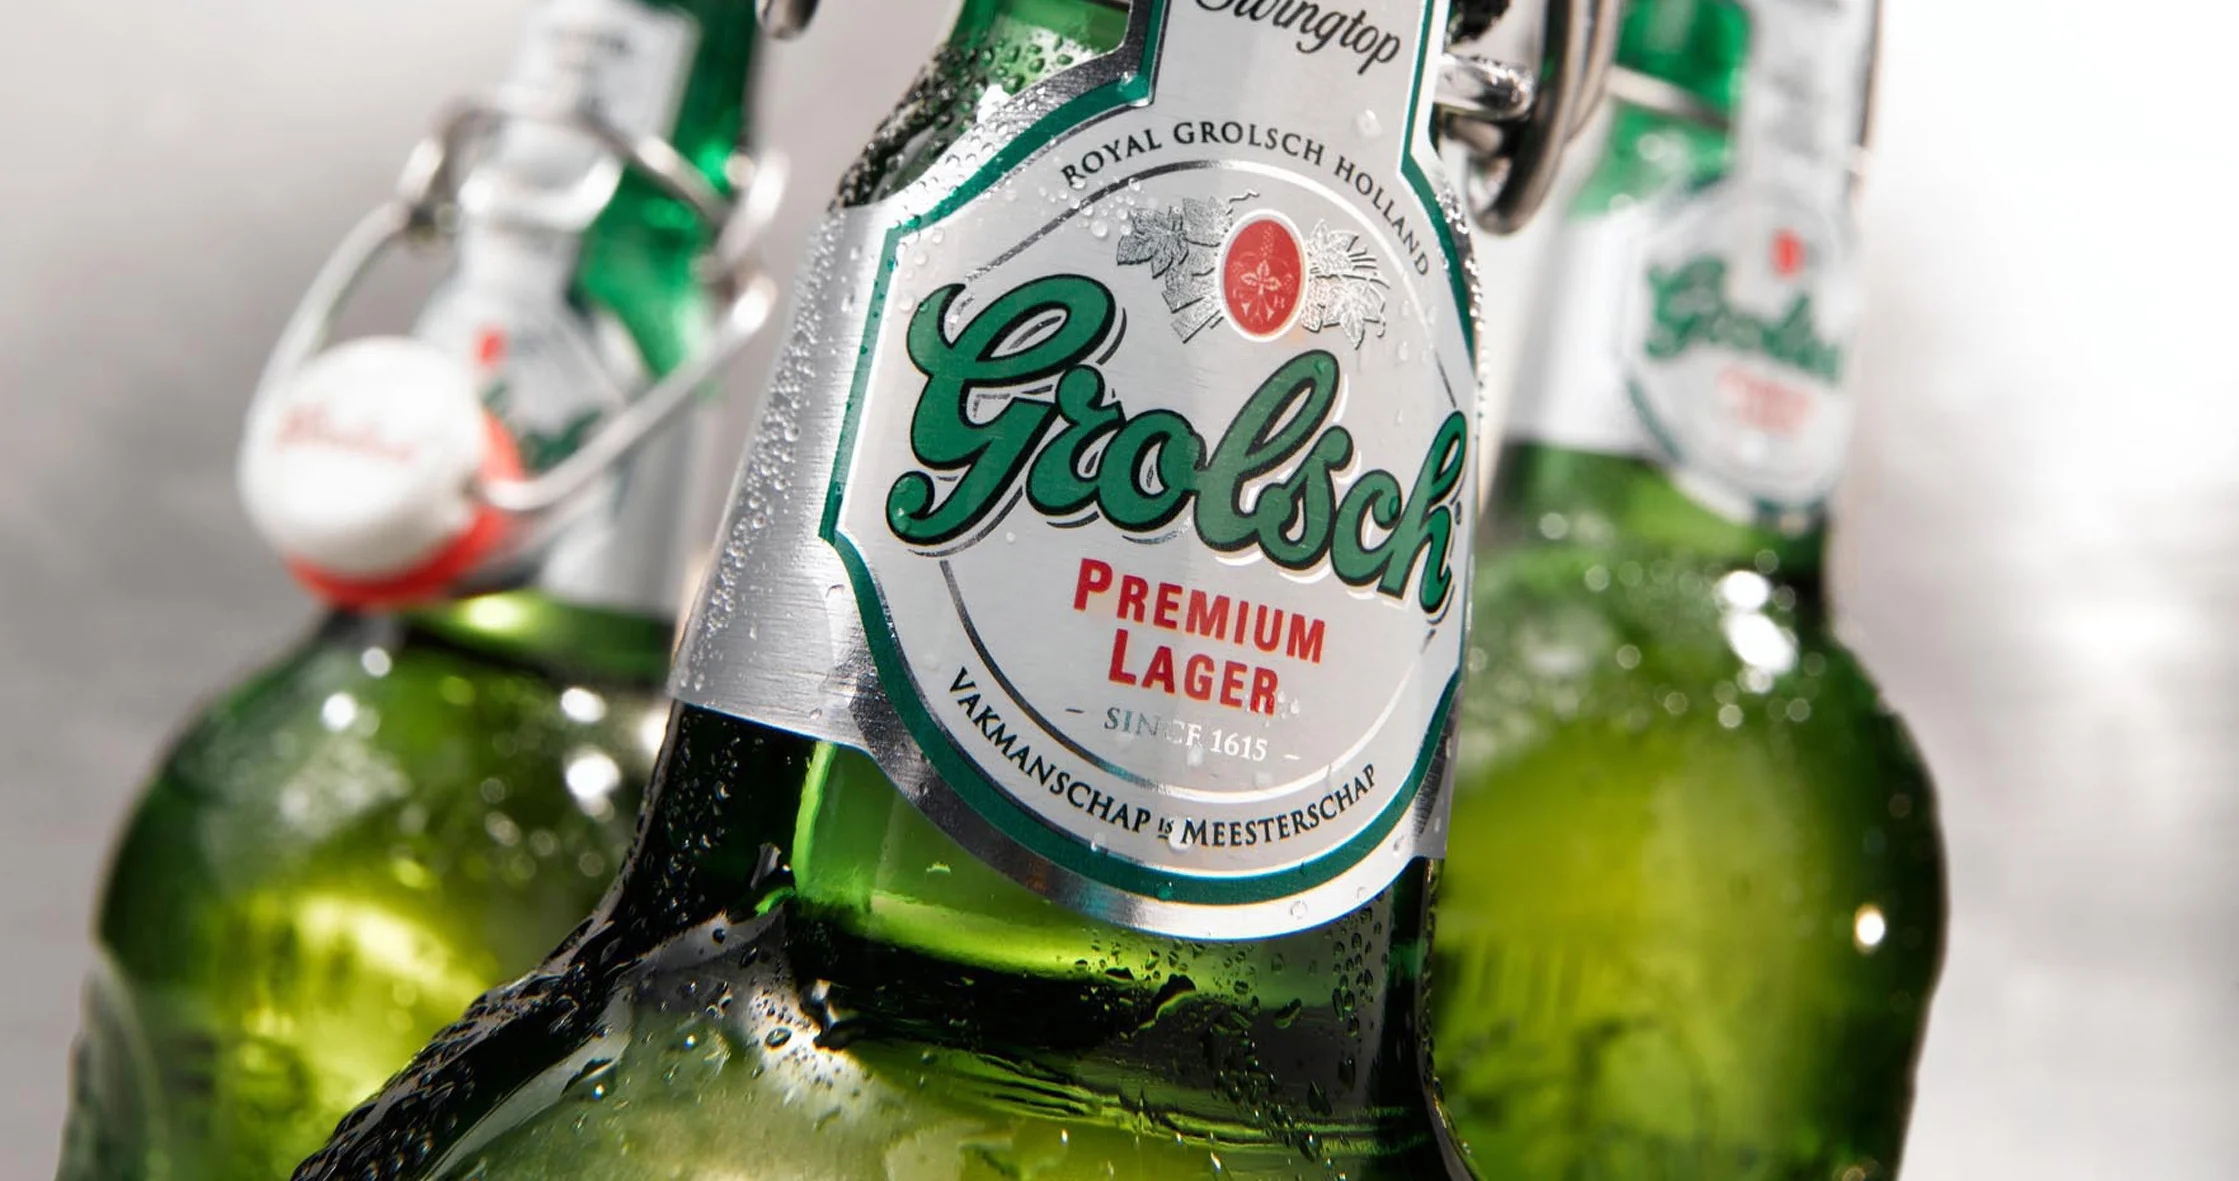
The next time you’re at the grocery store on a beer run, sidle over to the import section--or better yet, stop off at a local bottle shop--and pick up eight beers sold in bottles with swing-top caps. This is how you’re going to bottle your beer without a bottle-capper. Grolsch is the most common, but there are other brands out there that sell beer in these bottles, so shop around. While you’re at the grocery store, also pick up a one-gallon glass jug of apple juice. This is going to be your fermenter. Take the beer and cider home and consume.
If you really can’t find swing-top bottles or you hate apple juice, you can also pick up a bottle-capper ($20), caps ($4), and a one-gallon jug ($5) when you get your regular supplies. Remember to save ten or eleven regular beer bottles (non-twist top) for this purpose. But if your inner cheapskate loves a deal as much as mine, harvesting the containers from everyday staples is hugely satisfying.
Procedure
Begin by assembling the ingredients and equipment you’ll need. You can cobble together much of the equipment with items from around the house, but you’ll have to augment them with a few purpose-built items (see list). If there’s not a homebrew store in your town—the American Homebrewers Association has a list of shops throughout the country—you can buy ingredients and equipment online.
Important: sanitation is critical. You’re about to prepare a sugary solution that has been optimized to be digestible to yeast, and that makes it digestible to all the invisible microbes that inhabit your house and back patio (of which, not to freak you out, there are trillions). Make sure your equipment has been sanitized, that the surfaces in your workspace are scrubbed clean, and that you regularly wash your hands Be suitably anal about this and your beer can’t go too far wrong.
Excellent—let’s brew.
Ingredients and Equipment. Below is a full inventory of all the items you’ll need to make a batch of beer. Scrounge and borrow what you can and buy the rest. If you don’t know what it is, ask at the homebrew shop.
Equipment
- 2 stock pots with lids, 6 and 12 quarts (or thereabouts; you need two pots with a minimum of 4 and eight quarts)
- Fine mesh grain sack ($6)
- Small hop sack ($1.19)
- One-quart measuring cup
- Liquid thermometer (cheapo version, $7)
- Blanket
- Large spoon
- Two bags of ice ($3)
- Sink or basin for chilling and sanitation
- 1 gallon glass cider jug
- Rubber stopper and fermentation lock ($3.25)
- Siphon hose ($2)
- Bottles (swing-top, if you have them)
- Bottle-capper and caps (if no swing-top bottles)
- Bleach
- Optional: Funnel ($4)
- Optional: hydrometer ($10)
- Optional: kitchen scale ($9)
- Optional: Bottle filler ($3.40)
- Optional: fine-mesh strainer
- Optional: vodka or pure grain alcohol as sanitizer
Ingredients
- 2 pounds milled pale two-row barley ($3.58)
- 4 ounces 20L caramel/crystal malt ($.40)
- 1 ounce Cascade hops (pellet or whole), 6% alpha acid ($3)
- 1 package Wyeast 1056 American Ale yeast ($7)
- 2 tablespoons sugar
Note: Homebrew shops sell malt unmilled. To prepare it for the mash, you will have to crush the grain. Most homebrew shops have a mill to use. If not, put your grain in a paper sack and crush it with a rolling pin until it’s crumbly.
Preparation
Before brewing, it’s always good to survey your equipment and ingredients to make sure you have everything you need. An hour or two before you begin brewing, activate your yeast so it’s ready when you need it (see instructions on the package). Make sure your kitchen (or brewing area) is spotlessly clean—all surface areas scrubbed and garbage and compost removed—and clean your equipment before brewing as well. Household bleach is an effective provisional sanitizer (there are better options down the road). Add a tablespoon of bleach per gallon of cool water as a sanitizer.
Mashing
We’ll begin by converting starches in the malted grain and extracting sugars. Steeping the malt in water activates the enzymes that turn starches to sugars, and these prepare the beer for the yeast—but the brewer has some choices. In a single-infusion mash like this one, there’s a maximum range of about 144º to 160º for starch conversion; mashing at lower temperatures produces more fermentable sugars, and thus a drier beer, while higher temperatures produce fewer, making it richer and sweeter. As you follow this procedure, pay attention to the mash temperature so that in future batches you can adjust to your preferences.
For this recipe, we’ll use about 1.5 quarts of water per pound of malt, so begin heating 3.5 quarts of water to a "strike" temperature of 163˚ F in your larger pot. The water will cool down when it mixes with the malt, and should settle at or a bit above 150˚ F—our mash temperature. While the water is heating, put the malt in the fine-mesh sack, tying it off at the top, but leaving room for water circulation (don't cinch it tightly).
When the water reaches strike temperature precisely, pour it over the grain sack in the second pot. Stir vigorously, trying to get as much flow throughout the grain sack as possible. Test the temperature of the mash with the thermometer. So long as it’s above 145˚ F and below 158˚ F, don’t worry what it says, just take note. Put the lid on the pot and swaddle it in the blanket (this will help retard cooling). You’re going to let the swaddled pot sit for 45 minutes, but every fifteen minutes, stir vigorously and re-swaddle. Check the temperature; if it falls below 145˚ F, just pop it back on the burner and boost it up again.
Sparging
Normally, a homebrewer would be able to drain the first runnings out of his mash vessel and sprinkle water on top to continue to extract sugars—a process known as sparging. In our quick-and-dirty process, we’ll do something that looks more like successive mashes. Begin heating the second pot of water (or teakettle, or something) with 3.25 quarts of water while there’s still ten minutes remaining in the mash, raising it to 170˚ F. The sparge water will round out the total volume to 1.5 gallons or so. We need extra volume, because some liquid will be lost to evaporation during the boil. If everything works as planned, that will leave a gallon to ferment.
Pull the grain sack out of the first pot, letting some of the liquid drain out. Transfer it to the second pot, again stirring vigorously. Put the lid on and wait another 20 minutes, and then remove the grain sack.
Boiling
Before hops became standardized, brewers boiled their beer briefly, if at all, just to sterilize the beer. But with the arrival of hops came longer boiling. The reason? In order to extract the bitterness from the hops, the bittering compound, alpha acids, must go through a chemical change called "isomerization." To extract most of the resulting iso-alpha acids, a boil of 60-90 minutes is required. Other compounds in hops responsible for flavors and aromas are present in the essential oils, and these boil off quickly. To capture them in the beer, we add hops later in the boil.
You now have two pots containing worts of different concentrations. Combine these in your largest pot and bring the wort to a boil. Important: at the beginning of a boil, wort proteins will create a head just like the one on a pint of beer; if you have a small pot, have a hand on the burner switch to avoid the dreaded boil-over.
Once you reach a full boil, it’s time to add hops. If you have a scale, weigh out a quarter-ounce of them. If you don’t have a scale, you can divide the hops by sight, separating them into quarters. Put the hops into the hop sack and drop it into the boiling wort. This addition will add bitterness to the beer—and make your kitchen smell wonderful. Watch to make sure you maintain a steady boil throughout this process. With ten minutes left, prepare your sink for chilling (see “chilling” below), and then at 5 minutes, add another quarter-ounce of hops. This addition will contribute both flavor and aroma. When the sixty minutes have elapsed, take the remainder of your hops (.5 ounces) and add to the hop sack. If you have a hydrometer, pull a few ounces of the hot wort out and set aside to cool—you can take a hydrometer reading later. Turn off the heat.
Chilling
The period between the time you remove your wort from the heat and the time it’s cool enough to pitch the yeast is the most dangerous in the brewing process. You want to make sure to cool the wort quickly and get your own yeast going before nature has its way with your beautiful beer.
While your wort has about ten minutes left to boil, stopper your kitchen sink drain and empty the bag of ice in the sink. The moment the boil has finished put your sanitized thermometer and spoon in the pot (the hot liquid will sanitize it), and move your kettle into the ice bath in the sink. Begin monitoring the temperature, stirring the liquid regularly. As your ice melts you can add cold water to make sure the ice and cold water are high enough to continue to cool the wort, adding ice from the second bag as needed. In a half hour to hour or so, the wort will cool to a target temperature of room temperature of 70-75 degrees.
Transferring to Fermenter
Before transferring, make sure your gallon jug, rubber stopper, fermentation lock and either your funnel (simple transfer) or siphon hose (more involved transfer--see below) are all sanitized. Remove the hop sack and thermometer from the kettle. The easy way to transfer is carefully pouring the chilled wort into a funnel over the jug. If you have a kitchen strainer, you can put it on top of the funnel as your pour through--but make sure it's sanitized, too. If you lack a funnel, free-hand the pour straight into the jug (and curse yourself for being too cheap to buy a funnel).
Leave three inches of space or so in the jug below the neck. This will allow some room for the fermentation to build a head without forcing it through the fermentation lock.
More involved transfer
While the wort is chilling, clean and sanitize your jug along with your siphon hose. When the temperature of the wort is around 70˚ F, remove the hop sack and thermometer. Place the wort on a counter and stir in a wide, even direction so that you get a nice vortex going. You are using your pot to create a whirlpool, and a bunch of crud (technical name: “trub”) is going to gather at the center of the pot. Place your sanitized jug on a chair beneath the counter with the wort, and fill your sanitized siphon hose with water, holding your (clean!) thumb over one end. To create the siphon, you’re going to hold the end with your thumb over it down over the empty pot. Put the other end in the wort and release your thumb; the liquid will begin pouring into the empty pot. Make sure that you’re drawing the wort from the edge of the upper kettle. The idea here is to leave the trub at the center of the pot behind. (You may lose a few ounces of liquid, but don’t worry about it.)
After transferring, fill the fermentation lock halfway with water, put inside rubber stopper, and place ion the jug's opening
Fermentation
The magic of beer happens when tiny fungi--yeast--convert the sugars you've prepared into alcohol and carbon dioxide. Indeed, an old axiom holds that brewers make wort; yeast makes beer.
The package of yeast should be bulging now. Clean it with soap and water and wash your hands (yes, again). If you have some vodka or clear grain spirit (like Everclear) on hand, you can swab the outside for extra sanitizing. Open packet. Remove the fermentation lock with one hand and carefully pour the yeast into the wort with the other. Replace the fermentation lock.
If you have a hydrometer, your small amount of wort should have cooled enough to take a reading. Fill the hydrometer’s tube with wort and immerse the hydrometer in it. If your mash went well, it should read around 1.055. Whatever the reading, note it down. This will be one of those moments when you see how well your system is working—do you have too much beer? Too little? Take note of this but don’t panic; this is how brewing goes.
Within several hours, you will begin to see the first signs of activity, and within a day, the beer will have a rich, thick head on it. In two or three days, that head will begin to settle down. Give fermentation two weeks from the moment you pitched until you're ready to bottle.
Bottling
If you’re taking a final reading on the hydrometer, this is the time to do it. The beer should finish around 1.012 or a bit lower. The first step is priming the fermented beer with sugar. This will re-activate the yeast, which will ferment the beer a bit more in the bottle, naturally carbonating it. Prepare a solution of 1.5 tablespoons of table sugar in a half-cup of water and bring to a boil. Add it to the beer. Next, sanitize the bottles (being sure to rinse them afterward) and plastic hose. A gallon holds 128 ounces; that’s a bit less than ten 13-ounce bottles or eight 500 ml European bottles. If you're using bottle caps, put them in a shallow bath of water and bring to a boil; immediately take off the heat.
The actual bottling, especially if you don't have a bottle-filler, is a lot easier with two people, one to man the jug, and one to fill the bottles. Prepare the hose for siphoning again, and begin filling the bottles. You want to make sure you run out all the water from the hose before you fill the first bottle. As you fill each bottle, crimp the hose several inches above the level of the bottle to squeeze off the flow of beer as you fill the bottles. The bottle-holder’s job is to keep the end out of the yeast- and trub-slurry that has collected on the bottom of the jug.
Enjoying and Learning
The hardest part of homebrewing comes next: waiting. You have to give the yeast a couple weeks to condition in the bottle before tasting your tasty, tasty elixir. In all likelihood, your beer will be palatable but not perfect. In fact, count yourself fortunate if it didn’t work perfectly—there’s a lot to be learned, and that is more valuable than ten great bottles of pale ale.
If it didn't work as you expected, what happened? These instructions left out just a few of the finer points. I didn’t mention anything about adjusting the hop additions based on alpha acid content; didn’t say anything about how the ratio of hot liquor to malt affects a mash. If you ended up with more or less than a gallon after boiling, you may wonder why I didn’t mention kettle shape and evaporation rates. Perhaps it was warm or cold in your house when you fermented the wort. How did this affect the flavors the yeast produced--and why didn't I mention ideal temperatures for the selected yeast strain?
The truth is that at every stage of the process, a brewer makes decisions that will affect her beer. If you want to try another batch, you know your system now, so you can begin troubleshooting. As you go along, you'll make discoveries about the process, the techniques, and the chemistry. If you walked away from this experiment enchanted by the process of homebrewing, you can pursue the hobby more deeply. The more you brew, the more you understand what makes beer taste like it does. As the brewer, this gives you complete control over what you're doing--and that is the true joy of homebrewing.
Maybe this was a long, boring project that left you cold. Hey, no worries--you're only out forty bucks. On the other hand, if you found this exercise entertaining and intriguing, try another batch or two. Pick up a book and read about the processes you've already used. Keep exploring. Brewing beer, for the right person, can be a terrific way to spend Saturday afternoons.
Other Resources
Some good books to consider are John Palmer's How to Brew (there's an old, stripped down, but still fantastic version online) or Randy Mosher's Radical Brewing. Online recipe calculators are fantastic (and free), and Brewers Friend is my go-to. Communities abound, but Reddit may be your best place to start. YouTube has a trove of instructional videos.